Welcome to the Metigy Learning Guide to Creating a Facebook Business Account. You would want to do this to keep any advertising you create for business separate from your personal account – Facebook sometimes creates a personal account for you.
When you book ads through an account, Facebook tracks all performance against that. This is really useful for keeping everything you do together and makes it easy to audit. In Metigy, we recommend this approach for added security and better control of your business assets which we will cover in a separate article.
By the end of this article, you will know how to set up a new Facebook Business Account for your business along with your first ad account. You will also understand the benefits of using it, and start to get a view of how you can use it for reporting. And once you’re done, it’s time to go and book your first Facebook-boosted post through Metigy using our Content Curator Boost feature.
Once you have set this up and started using it, you will join the many users using Metigy to Create and Boost their Social Media content!
Table of Contents
ToggleWhat is a Facebook Business Account?

As Facebook grew, they realized that businesses were often managing multiple pages all with multiple Facebook users, each needing ad accounts and so on. Anyone who has tried to manage multiple accounts and users will know that this quickly becomes complex when you have to manage them in several places.
In the past, companies would often create an account such as facebook@business-name.com and then share the account details around the team. This is massively insecure and leaves you vulnerable when someone leaves the business.
This is where the business manager comes in. It allows administrators to set up and manage multiple pages, control user permissions, etc. By doing this under one interface, you can quickly add and remove users, track statistics, create ad accounts, pages, and a whole lot of other things.
One additional benefit is that you can get quite granular and assign a user permission to access just an ad account for reporting only as an example. That means, for example, that an agency user can run a report on ad performance without having or needing access to the rest of your pages.
What does that look like?
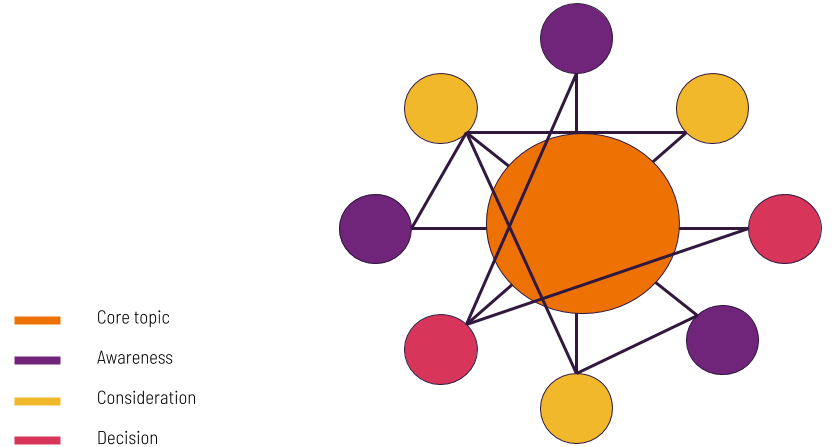
To help you understand this better, here is a breakdown of the main parts of the Business Manager:
- Business Account – this is the business that is managing everything
- Business Admin – This is the top-level user who can control every part of the business
- Employee – works directly for you to maybe create content for a business page
- External User – This might be an agency user or contractor you need to give limited permission to
- Facebook Page – a page on Facebook that you manage as a business
- Facebook Ad Account – an ad account. This can be connected to the business account and a page
Some Example setups
You work with a 3rd party agency that manages your ads and does some reporting;
You can grant them Advertiser access to pages so they can:
-
- Run reports against that page
- Create ads for that page
- Cannot create content, add users, reply to comments, etc.
You can grant them Create access to ad accounts so they can:
-
- They can create ads on your behalf
- They can run reports
- Cannot add users
Internally, you might have users that create content only:
You grant them Editor access to pages so they can:
-
- Create posts and publish them
- Create Ads
- Moderate comments
- Cannot manage users
By default, they will get Advertiser access to the account
You can see how valuable that is for a business to have that level of control. And also how much easier and worry-free it becomes to manage new and leaving staff, 3rd parties, etc.
How do you create a business account
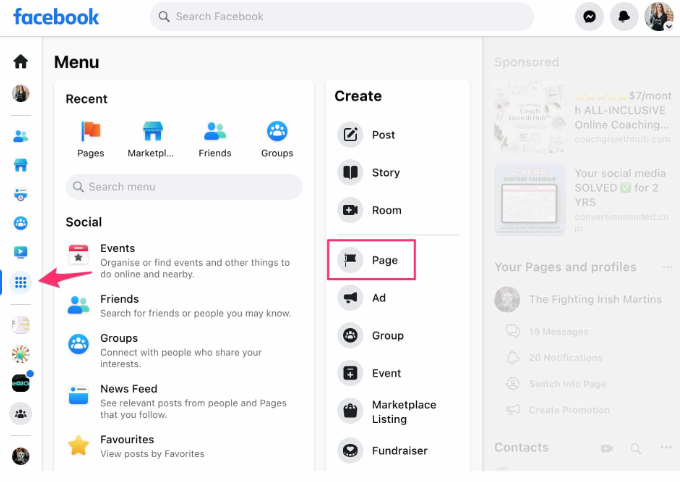
Pre-requisites for this process are:
- Make sure you are signed into your Facebook user account (and if you have a Facebook Page, use the account that has access to it).
- Optionally, you already have a Facebook page set up for your business. You can do this later if you need to.
Now, go to business.facebook.com. The first thing it will prompt you to do is enter a business name. This should be your primary operating company.
Next, if you have a primary page available, select it in the next step. That page is your default. Now to add the first bit of business information. Your name and Business email address. This will set you up as the first administrator of the account.
That’s the most important part of the process. Follow the rest of the onboarding that Facebook requires you to complete.
And that is it. You have now set up a business account! But, obviously, that is not the end of it. Now we need to set up your Ad Account.
If you need to have multiple business accounts, you cannot create it yourself. But, someone else can and invite you in as an administrator. But generally, we recommend trying to stick to one business account as it is both easier and more secure to manage.
Configuring your new Facebook Ad Account
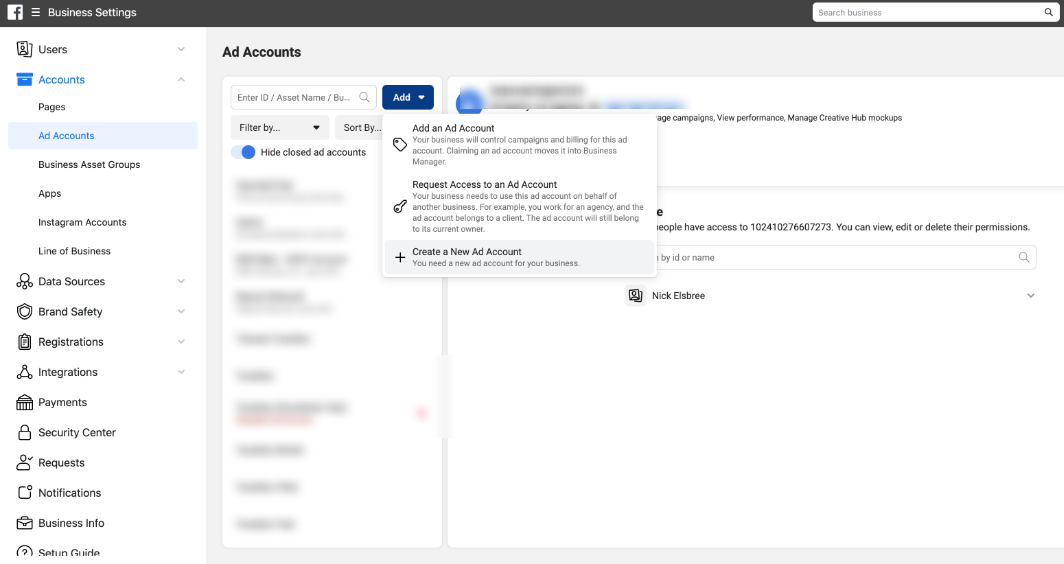
Now we’ve set up the business account, we need to give Facebook some payment details to allow you to start booking ads through your Metigy Account.
First, go to the ad account settings:
Next, click on Payment Information:
Now click on Add Payment Method:
And that is it! You are now ready to get started booking ads through Metigy!
How do I start to Create and Optimize My Facebook Ad Strategy?
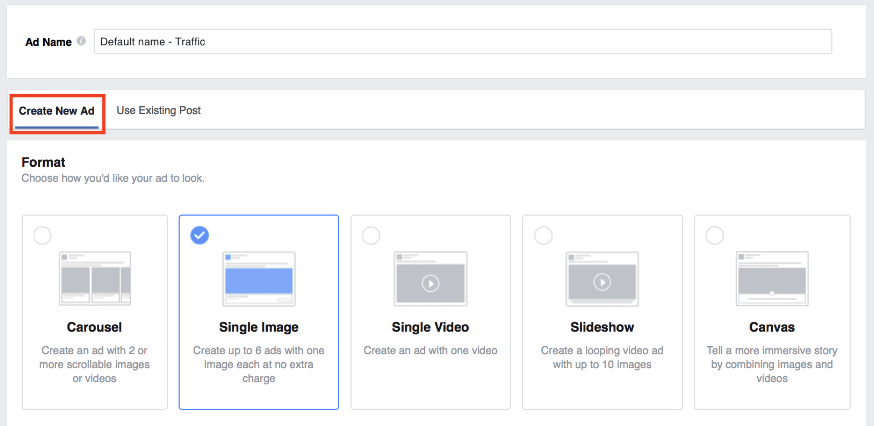
Now that you have done that, the fun can really begin! This is where Metigy comes in with its Decision Support Technology.
Our AI Driven tools and support articles will help you create and boost your social media content by teaching you the best time to be posting, how to post and what kind of budgets to allocated.
And we have a whole lot more in the pipeline!
In the next few articles, I’ll discuss some of the key considerations for getting the most from your new business manager account and some basic tips for improving the security of your business. And also how to setup custom audiences within Facebook.
We hope you enjoyed this article and be sure to check out the Metigy AI platform!
Related Articles
- Cheat sheet: Facebook Pages and Starting on the right foot
- Facebook and Instagram Boosted Social Media Post
